
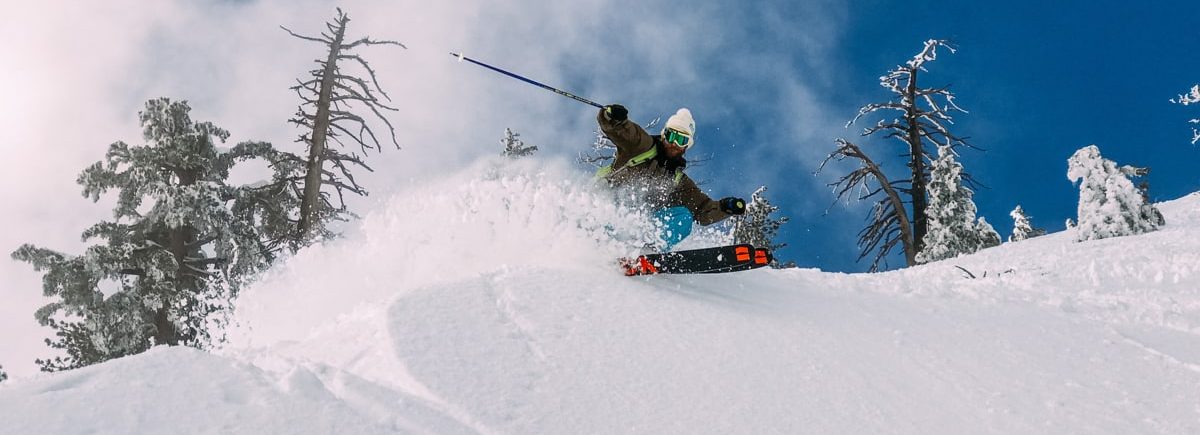
How To Ski: Ultimate Beginners Guide (10 Easy Steps)
Have an upcoming ski trip and wondering what to expect? In this free guide, I'll explain absolutely everything you need to know about how to ski for beginners- from putting your skis on to stopping safely to learning how to parallel ski.
TDLR; on how to ski? Start by sliding on flats and learning pizza. Make wedge turns to control speed. Progress to parallel turns with pole plants for rhythm. Build confidence with steeper terrain and develop techniques for conditions like powder or ice. Take lessons, practice fundamentals, and build skills. You'll be skiing smoothly and safely in no time.
We are reader supported. We may collect a share of sales from the links on this page. As an Amazon Associate, we earn from qualifying purchases.
Here's skiing tips for beginners in one simple guide:
1. Learn How to Slide
Sliding forwards is the goal of every skier. It's the first and most fundamental step in a long line of skills you'll be learning on your journey. Enjoy these skiing tips for beginners.
- With your skis secure on, head to a very short and shallow baby slope with a flat area that allows you to come to a natural stop.
- With your skis hip widths apart, point your skis down the slope and slightly bend your knees.
- Allow gravity to pull you downhill as you stay centered over your skis.
- Allow your skis to come to a natural stop as the slope flattens out.
- Repeat this until you feel more balanced and comfortable sliding over short distances.
Now that you're learning to slide over short distances and getting to feel how sliding over snow feels - it's time to learn how to control your sliding and come to a safe stop.
2. Learn How to Stop Pizza
Learning to stop on skis is the most important part of skiing. Without knowing how to control your speed and come to a standstill, you'll be putting yourself and others in danger.
Luckily, learning to slow and stop is not that difficult, but it requires lots of practice. The best way for new skiers to stop is to put their skis into a wedge shape known as a pizza or snowplow.
By adopting the pizza stop, you push out your skis and dig into your inside edges, creating more friction with the snow and reducing your speed. The more you dig into the snow, the more friction you generate and the quicker you can come to a stop.
By increasing and decreasing the size of your pizza wedge, you can slow down and speed up, allowing you to control your speed on the beginner's slopes. This allows you to practice sliding over longer distances and avoid colliding with other skiers on the piste.
- Push the backs of the skis out to make a wedged shape. This will create resistance and slow your speed.
- Gently push out the back of the skis further until you come to a complete stop.
- To slow down faster, push into the inside edge of each ski with more power to increase the friction and the rate at which you slow down.
The snowplough is only effective to a certain steepness of the slope and can lead to fatigue over long distances. It's best to snowplough on beginner slopes.
Learn more about the pizza stop and other ways to control speed.
3. Learn How to Turn
Once you've learned to slide down baby slopes and got to grips with pizza stops, it's time to build on these skills and take the next step toward becoming a skier.
Why do skiers turn?
Skiers control their descent by continuously turning left and right down the mountain. Turning on skis is an essential skill and key to safely skiing all areas of the mountain. The right and left turn allow you to control your speed, explore more of the mountain, and safely descend steep trails.
Learning to turn takes lots of practice and determination and you will be continuously working on it as you progress from a beginner to an advanced skier.
Learning to turn
Start on a shallow beginner slope (marked green on trail maps) to learn to turn, then follow these steps to initiate your first turn.
- Slide downhill and then come into a gentle snowplough.
- Put slightly more weight into the inside edge of one ski - which will create more friction on one side, so you start to turn towards the other direction.
- Release the edges so that your skiing across the slope, and then repeat with the other leg to turn back on yourself.
As you snowplough, by digging into one edge more than the other, you create more friction on this side which will naturally turn your skis and body to face in one direction. By releasing your edges after your turn, you can continue straight across the slope.
- To turn left, put more pressure on the inside edge of your right ski.
- To turn right, put more pressure on the inside edge of your left ski.
Keep practicing over a few days until you get used to the feeling of balancing over your skis as you make a turn. Always practice on beginner slopes and be patient with yourself.
At first, you'll start off turning in one direction, but over time as your confidence and skills grow, you will start to link your left and right turns.
This wedged style of turn is the building block towards learning how to parallel ski (the ultimate goal of every new skier), and with time and continued practice, you'll get there!

4. Learn How to Control Speed
Skiing is all about controlling your speed. Anyone can jump on a pair of skis and fly down the mountain - but without a reliable technique for slowing down and controlling how fast you're going, you'll end up in a dangerous scenario.
There are three main ways to control your speed on skis:
- Snowplough or Pizza (beginner move)
- Wedged turns left and right (traversing along the slope)
- Parallel skiing
And here's how not to slow yourself down:
- Don't use your ski poles
- Don't reach out and grab someone!
Different methods of reducing speed are better than others. While pizza is the easiest to learn, it is also the least effective at speed. The best way to control speed and/or come to a stop is to turn sharply to the left or right in a hockey stop.
| Method of reducing speed on skis | How effective at slowing you down? |
| Pizza | OK |
| Wedged Turn | Good |
| Parallel Turn | Great |
| Hockey Stop | Fastest |
I wrote an entire guide on how to slow down on skis here.
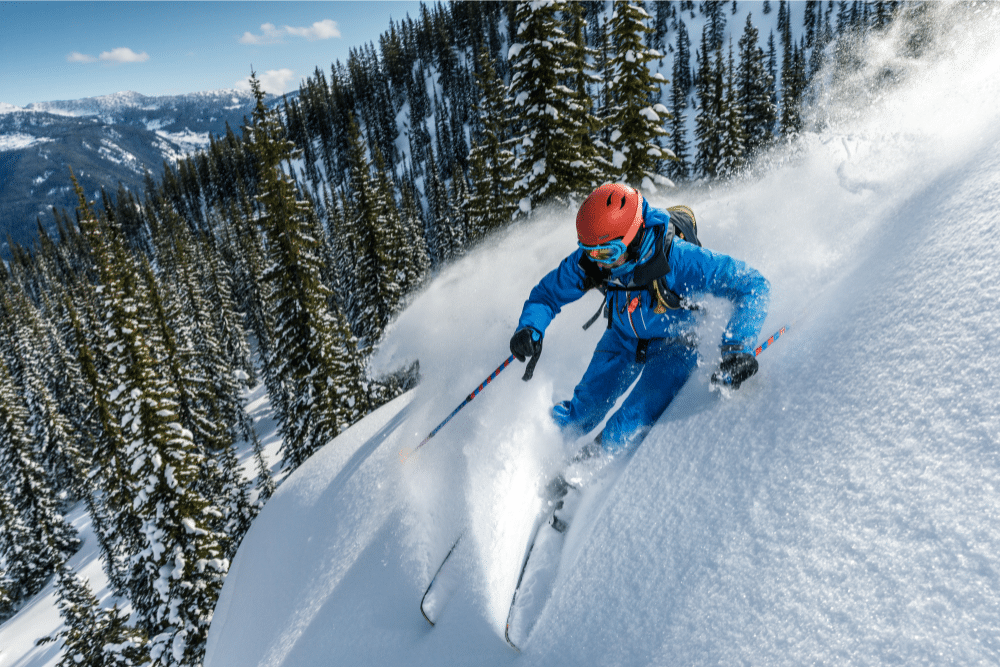
5. Learn How to Ski Parallel

Skiing parallel is how good skiers turn, control their speed, and navigate down the slope. It's called skiing parallel because the aim is to have your skis pointing in the same direction throughout the turn.
From Wedge to Parallel
A parallel turn is when your skis stay aligned together during the full length of the turn – rather than form a beginner wedge shape.
With our earlier wedged turns, we are evolving from a snowplough where our skis are at a pizza angle, and as we turn our inside ski takes longer to follow through.
Learning to parallel ski takes time, but once mastered it allows us to turn at greater speeds, with more control and less fatigue.
Learn the Fundamentals
Before learning to parallel ski you should be comfortable sliding forward, balancing on your skis, controlling your speed using the pizza technique, and be able to turn left and right using a wedged turn shape.
Once you're at this level then you can begin to work on your parallel skiing and focus on getting your skis aligned through the full arc of the turn.
Technique
Step 1: Initiate the Turn with Proper Body Positioning
Lean forward and upward to release the edges of your skis, making turns smoother and tighter. Engage your core muscles and maintain a slight bend in your knees to ensure stability and control.
Step 2: Align Skis Downhill for Smooth Transition
Shift your weight evenly onto both skis as they face forward, down the slope. Keep your feet hip-width apart and ankles flexed to maintain balance and facilitate a smooth transition into the turn.
Step 3: Shift Weight to the Outside Ski for Effective Steering
Rely on the friction generated by the outside ski to steer your turn. Gradually transfer your weight onto this ski while keeping the inside ski in contact with the snow for added stability.
Step 4: Maintain Balance and Counterbalance the Turn
Lean gently into the turn, keeping your torso upright to counterbalance the pressure on the outside ski and guide your trajectory. Focus on maintaining a balanced and centered body position throughout the turn.
Step 5: Roll Your Knees for Proper Alignment and Fluidity
Gently roll your knees into the turn, positioning the inside ski slightly ahead for natural alignment. This movement helps distribute pressure evenly between both skis and promotes a fluid, continuous turn.
Step 6: Emphasize the Inside Edge for Optimal Friction
Focus on the inside edge of the outside ski to generate sufficient friction for turning. Engage your foot and lower leg muscles to maintain consistent pressure on the ski's edge throughout the turn.
Step 7: Manage Uphill Ski for Synchronized Movement
Keep your weight off the uphill ski and angle its edge into the slope, allowing it to mirror the leading ski's movement. This ensures a parallel positioning of both skis for a more efficient and controlled turn.
Step 8: Embrace Sliding for a Smooth S-Shaped Trajectory
Familiarize yourself with the sensation of your skis sliding sideways through the turn, achieving a smooth S-shaped trajectory. Emphasize even pressure distribution between both skis and maintain a steady rhythm for greater control.
Step 9: Ease Off Edges for Seamless Transitions
As the turn concludes, release the ski edges to transition smoothly across the slope. Gradually shift your weight from the outside ski to the inside ski and adjust your body positioning in anticipation of the next turn.
Step 10: Prepare for the Next Turn with Proper Body Alignment
Face your shoulders toward the slope, ready to initiate the subsequent turn. Maintain a forward and centered stance, with your hips, knees, and ankles flexed for optimal control and responsiveness during each turn.
Video Walkthrough.
Sometimes words can only take you so far. Here is an 8-minute video walkthrough guiding you into your first parallel turn.
For a more detailed walkthrough, read my guides to skiing parallel.
6. Learn How to Hockey Stop
The hockey stop (also known as the parallel stop) is an advanced method of coming to a complete stop. It involves rotating your skis parallel at speed and digging into your edges to create the maximum amount of friction.
You can stop aggressively or at a more relaxed pace by varying the speed at which you rotate your skis and the pressure you place on the edges. In my experience - the best thing about the hockey stop is that you can whip up a cloud of fresh powder.
Technique
Step 1: Loosen Skis' Contact with Snow for Smooth Stopping
Stand up gently just before initiating the stop, easing the skis' contact with the snow. Maintain a balanced and relaxed stance to prepare for the upcoming stopping maneuver.
Step 2: Initiate a Parallel Turn with Emphasis on Weight Transfer
Begin a parallel turn, transferring more weight onto the outside or downhill ski than you would for a regular turn. Execute this weight shift quickly and decisively to facilitate an effective stop.
Step 3: Turn Feet and Legs Parallel while Engaging Ski Edges
Simultaneously turn your feet and legs parallel, starting to bend your knees. Dig into the snow with the inner edge of both skis, applying pressure through your heels for optimal stopping power.
Step 4: Increase Pressure on Edges for a Quicker Stop
The more you dig into the snow, the faster your stop will be. Focus on maintaining consistent pressure on the ski edges and engaging your leg muscles to achieve a controlled and efficient stop.
Step 5: Flatten Skis on Snow to Prevent Falling
Once you've completed the stop, release the angle of your skis and flatten them on the snow. This adjustment prevents you from falling backward and ensures a stable, upright stance during the stopping process.
Step 6: Practice Regularly to Develop Muscle Memory
Repeat the entire stopping process to refine your technique and build muscle memory. Consistent practice will improve your stopping ability, making it more instinctive and controlled over time.
Watch the video below to see how it looks in action.
Read my in-depth guide to the hockey stop here, with a thorough walkthrough and key tips like how to stop better on your weak side.
7. Learn How to Pole Plant
You can ski without poles, but ski poles are incredibly useful tools. Not only do they help propel you forward on the flat and into the precise spot for the chairlift, but they also improve your skiing.
At first, ski poles can be a nuisance for new skiers; they get in the way and make it hard to focus on your leg movement. In fact, the overtime, you'll soon realize the opposite is true - rather than being a hindrance, ski poles are great tools to speed up your progression and make you better at turning at speed.
If you use ski poles properly, they help set you up to be in the right body position for each turn, creating rhythm and pace as you link your turns down the mountain.

Technique
The timing of a pole plant is critical, get it wrong and it can make your skiing worse not better.
Place your pole into the snow just before you make an edge change and initiate your turn. Think of your pole plant as a signal to your body to move your weight to start your turn.
The pole plant sequence
A pole plant should be made with one pole at a time leading with the pole that is on the inside of your turn. For most skiers, the pole plant will start as their traversing sideways across the mountain. The pole plant comes just before initiating the turn.
1. Traverse with arms out front but poles trailing
Traverse across the mountain with your arms out in front and your body turned slightly downhill. At this stage, your poles will be about 45 degrees angle to the snow trailing behind you.
2. Bring inside arm forward
Bring your weight evenly over your skis and bring your inside arm forward so the pole is facing the ground vertically or pointing slightly forwards ready for the plant.
3. The plant
At the point where we start to change our edges to initiate the turn, gently put your downhill and outstretched pole into the snow in front of and out to the side of your downhill ski (but it won't support any weight on it). Aim to plant your pole within the first quarter of your ski.
3. The backward flick
As you pole plant, your speed relative to the static snow will naturally flick the pole backward behind you (expect the flick and don’t resist it). As it does this, shift your weight over your skis (weight over the inside edge of your downhill ski) and turn into your pole plant. Let your flicked pole come off the snow and fall behind you while keeping both arms upfront in preparation for the same sequence repeated with the opposite pole.
Correct pole plant
 Gently flick the pole into the snow at a straight angle.
- Allow the pole to flick off the snow and fall behind you.
- Change edges and turn them into the direction of the pole.
 Gently flick the pole into the snow at a straight angle.
Read my full guide on how to pole plant.
8. Learn How to Fall
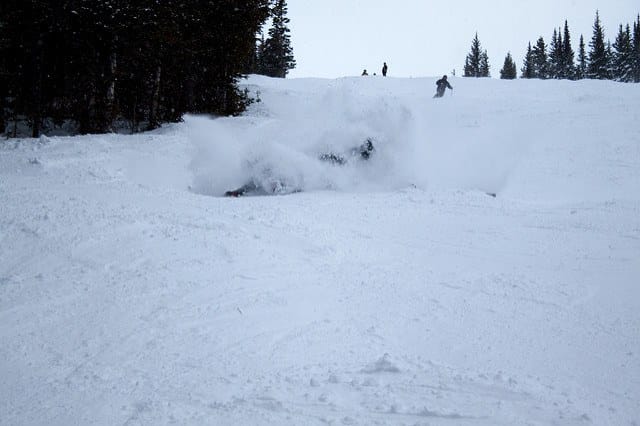
Every skier will fall at one time or another. Most falls are harmless fun, but occasionally they can be much more serious.
The best way to avoid injury when skiing is to learn how to fall properly - by distributing your weight evenly. While every fall is slightly different - you only have a very small amount of time to react.
Distribute your weight
The best thing you can do is to distribute your weight evenly as you fall. Instead of reaching out with your hands or elbow to stop the fall, straighten your arms and legs as you fall.
Land with the weight on:
- Straight arm by your side.
- Outstretched leg.

Don't impact in one area
Don’t try to catch your fall on the weight of your:
- Elbow
- Wrist
- Hand
 Elbow
Elbow
Protect your head
Protecting your head is really important (another reason to wear a ski helmet). If you're landing on your back straighten your arms by your side and take the impact with your arms and torso. Keep your head slightly lifted to avoid impact with the ground.
I wrote an entire guide to fall on skis with key tips to minimizing injury.
9. Learn How to Get Up
After you've fallen over for the first time, you'll find getting up to be pretty challenging. Even on shallow slopes, untangling yourself from your skis and getting to standing again can take a while.
Skis still on
If your skis are still on and attached to your boots, then there is a way to get up using poles as supports. This technique involves planting one pole at an angle into the uphill and using it to push yourself upright - see the video demonstration below.
Skis are off
If your skis have come off during your fall, then getting up can be more or less challenging depending on how steep the slope is.
To recover your skis, you'll need to walk uphill or downhill in your boots. To walk uphill dig in with your toe and to walk downhill dig firmly into the snow with the heel of your boot.
- Always keep your skis edged into the mountain and facing sideways from the slope.
- Always put on the downhill ski on first.
- When walking uphill, dig in with the toe of your boot first.
- When walking downhill, dig in with the heel of your boot.
- Lean over your skis as you put them on.
- Before clipping into your bindings, clear the snow away and always step into the downhill ski first.
I go into much more depth about each step on my main guide to getting back up on skis.
10. Learn How to Ski in Different Conditions

Skiing is a high-altitude mountain sport, and it's not always clear blue sunny days. When the clouds roll in, and the snow begins to fall, learning to ski becomes even more challenging.
Skiing In a Whiteout
A whiteout is when the clouds are so thick that you can't see beyond a few meters. The snow and the sky merge into one, and knowing where you are and how fast you're going becomes a challenge.
When skiing in whiteouts, your poles become even more important. They act as sensors for the world around you, helping you to feel how steep the slope is and the depth of the snow.
When skiing in a whiteout, you'll need to ski more slowly and with much more awareness of your surroundings. Reacting fast to oncoming obstacles and making sure to stay clearly within the boundaries of the slope.
Check out my more detailed guide to skiing in a whiteout.

Key Tips for Staying Safe
- Use piste markers
- Stick together
- Go high, go low, or go home (look for better visibility)
- Use flat light goggles
- Keep warm
- Wear bright colors

About Us
Hello, I'm Simon & I love skiing. I started skiing in 2007 and I founded this website to help new skiers learn everything there is to know about skiing. NewToSki.com has grown to be a trusted resource for over a million skiers to plan their ski trips each year and learn more about every aspect of skiing. Be sure to join my email list for the best tips and handpicked deals each week.

Featured In


Subscribe & Follow


